Email Management
Create and manage email templates, compose and send emails to contacts, and track delivery status — all from one central hub.
Key Features
- Email Templates: Build reusable templates for invoices, payment reminders, confirmations, and custom messages — dynamic placeholders like
{{client_name}}fill in automatically at send time - Signature Library: Create professional email signatures and attach them to any template
- Compose & Send: Write and send emails with CC, BCC, scheduling, priority, and optional tracking
- Email Queue: Monitor emails waiting to be delivered, with options to edit, retry, or cancel
- Sent History: Review all emails sent, with options to resend and view tracking data
- Open & Click Tracking: See when recipients open your emails or click links
- Gmail Integration: Connect your Gmail account via secure OAuth — sent emails appear in your Gmail Sent folder, no password stored
- SMTP Settings: Configure a custom mail server with built-in connection testing
How to Use
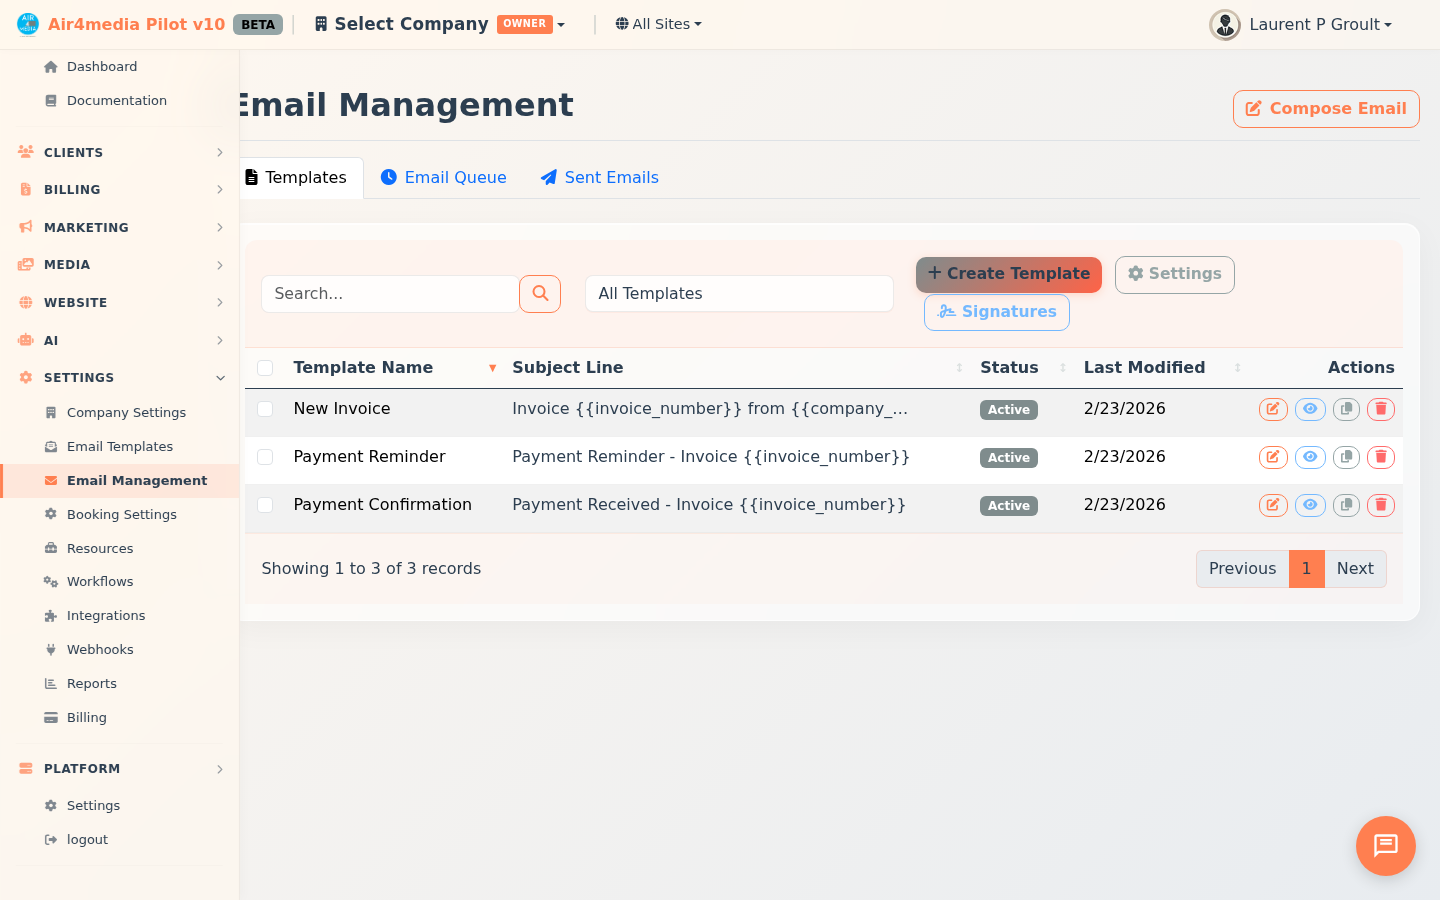
Managing Templates
- Open Email Management — the Templates tab appears by default
- Click New Template to create one, or click the edit icon on an existing template
- Choose a type: New Invoice, Payment Reminder, Payment Confirmation, Overdue Notice, Welcome Email, or Custom
- Enter a name, subject, and compose the body using the rich text editor
- Optionally attach a signature, then set the template to Active so it appears in the Compose dropdown
- Click Save
Use Duplicate to copy a template — the copy saves as inactive so you can edit before use. ACME Creative Agency, for example, keeps separate Payment Reminder templates for near-due and overdue invoices. Select multiple templates with the checkboxes to Activate, Deactivate, or Delete in bulk.
Composing an Email
- Click Compose Email at the top of the page
- Enter recipients in the To field; optionally add CC and BCC
- Choose a saved template to pre-fill the subject and body, or write your own
- Set Priority (Low, Normal, or High) and toggle Tracking to monitor opens and link clicks
- To send later, check Schedule for later and pick a date and time
- Click Send — the email joins the queue and is delivered automatically
Monitoring the Queue
Click the Email Queue tab to see pending, processing, failed, and scheduled emails. Edit a pending message, retry a failed one, or cancel delivery. Select multiple emails to retry, cancel, or delete in bulk.
Reviewing Sent Emails
Click the Sent Emails tab to view your full sending history. From here you can resend any message to the same recipients, check open and click tracking data, or filter by status and priority.
Email Settings
Click Settings to configure four areas:
- SMTP: Server credentials and encryption — click Test Connection to verify before saving
- Gmail: Connect your Google account via OAuth for better deliverability; no password is stored and emails appear in your Gmail Sent folder
- Tracking: Enable tracking by default and set a custom tracking domain
- Default Settings: From name, reply-to address, and default signature
Click Signatures to create or edit your reusable email signatures.
Tips
- Only active templates appear in the Compose dropdown — keep drafts inactive until they're ready
- Use Duplicate to create variations of a template without starting from scratch
- Check the Email Queue after sending to confirm your message was accepted for delivery
- Tracking shows the first time a recipient opens your email — helpful for knowing when to follow up
- Gmail integration keeps your sent history in one place and improves inbox deliverability