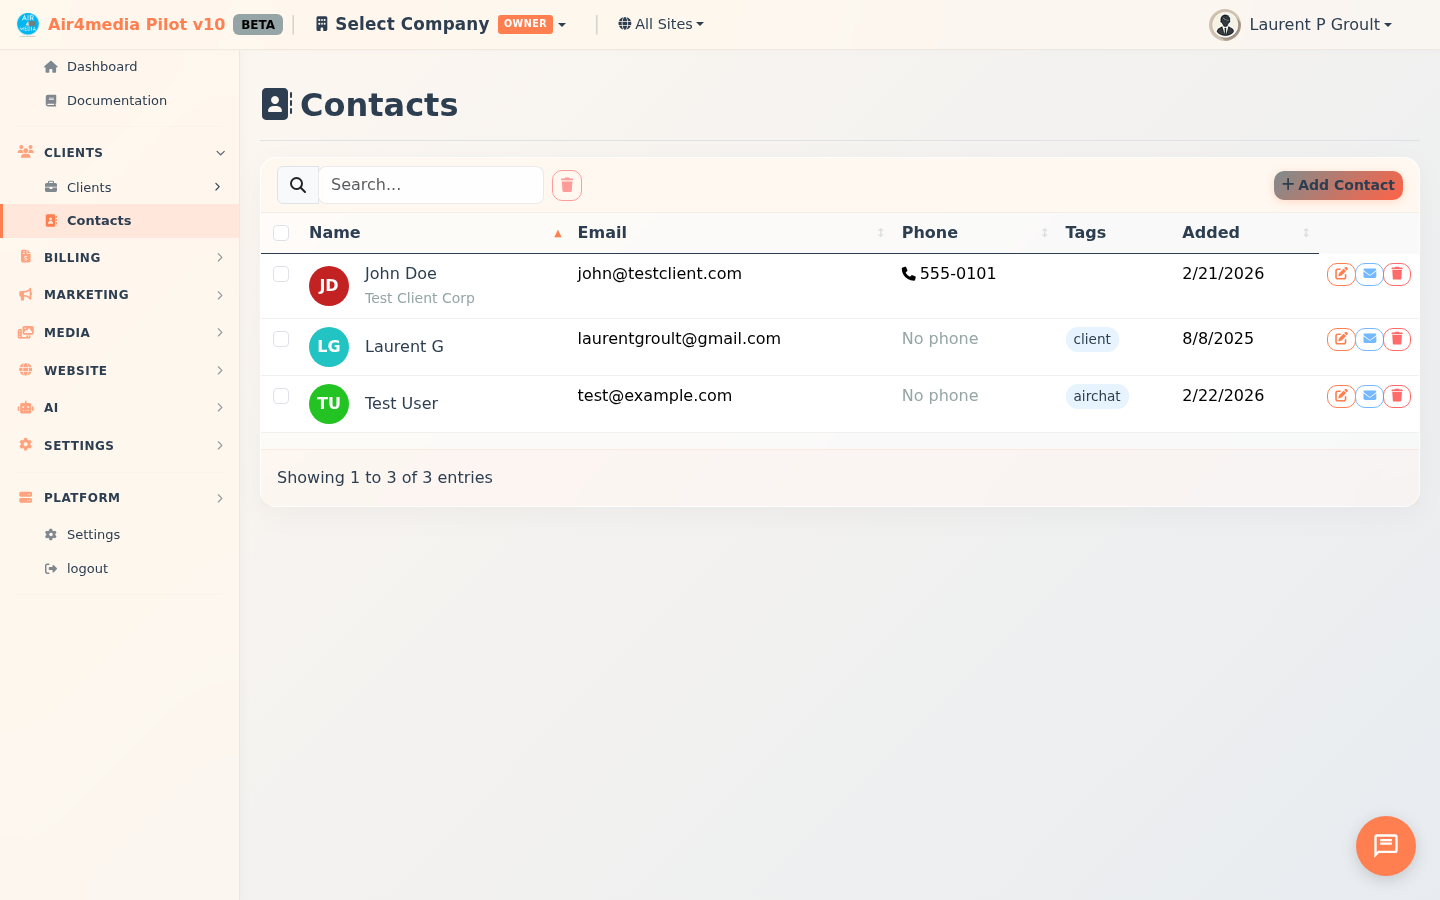
Contacts
Manage your CRM contact list — add, edit, search, and organize the people and businesses you work with, all in one place.
Key Features
- Stats Dashboard: Five live counters at the top show Total Contacts, New Leads, Newsletter subscribers, Portal Access users, and Customers — click any card to instantly filter the list to that segment
- Contact List: View all contacts in a sortable, paginated table (20 per page) showing name with avatar initials, email, phone/mobile, tags, and date added
- Search: Find contacts instantly by name, email, company, or notes
- Tags: Organize contacts with custom tags and filter the list by tag (the dropdown shows how many contacts have each tag)
- Add & Edit: Create or update contacts using a slide-out form
- Bulk Delete: Select multiple contacts and delete them all at once
- Quick Email: Click the email icon on any contact row to open a new message to that person
- CSV Import: Upload a spreadsheet to import contacts in bulk, with smart column auto-mapping
How to Use
Adding a Contact
- Click New Contact in the top-right corner
- Enter the contact's first and last name (required)
- Fill in any additional details — email, mobile, phone, company, job title, address, city, state, ZIP, or notes
- Add tags by typing a tag name and pressing Enter, or click any tag shown under "Popular tags"
- Click Save Contact
Editing a Contact
- Find the contact in the list and click the Edit button on their row
- Update any fields in the form
- Click Save Contact
Searching and Filtering
- Type in the search box to find contacts by name, email, company, or notes
- Use the Tags dropdown to filter to contacts with a specific tag
- Click any stat card at the top to filter by that segment (e.g. click New Leads to see only ACME Creative Agency's leads) — click it again to clear
- Click any column header to sort the list
Deleting Contacts
- To delete one contact, click the Delete button on their row and confirm
- To delete multiple, check the boxes next to each one, then choose Delete Selected
Importing from CSV
- Click Import CSV and drag & drop your file onto the upload area, or click Browse Files
- Review the column mapping — the system auto-detects common column names
- Optionally enable Update existing contacts to merge data for contacts already in the system (matched by email)
- Optionally assign default tags to apply to all imported contacts
- Click Import Contacts — a summary shows how many were imported, updated, skipped, or had errors
Tips
- Stat cards are perfect for quick segments — click Customers to see just your customers, click again to go back to the full list
- Tags are great for segmenting your list by status (e.g. "lead", "client"), campaign, or source — your top 10 most-used tags appear automatically as suggestions when adding or editing a contact
- Contacts are shared across your company — all team members see and manage the same list
- The email icon only appears on contacts that have an email address on file
- CSV imports recognize common column name variations automatically (e.g.
telephone,organisation,postcode,full_name,department) — no need to rename your columns before importing - When importing, use the Update existing contacts option to keep your data in sync rather than creating duplicates