Business Setup
A guided three-step wizard that connects your domain, email, and payment processing so your business is ready to accept clients and send invoices.
Key Features
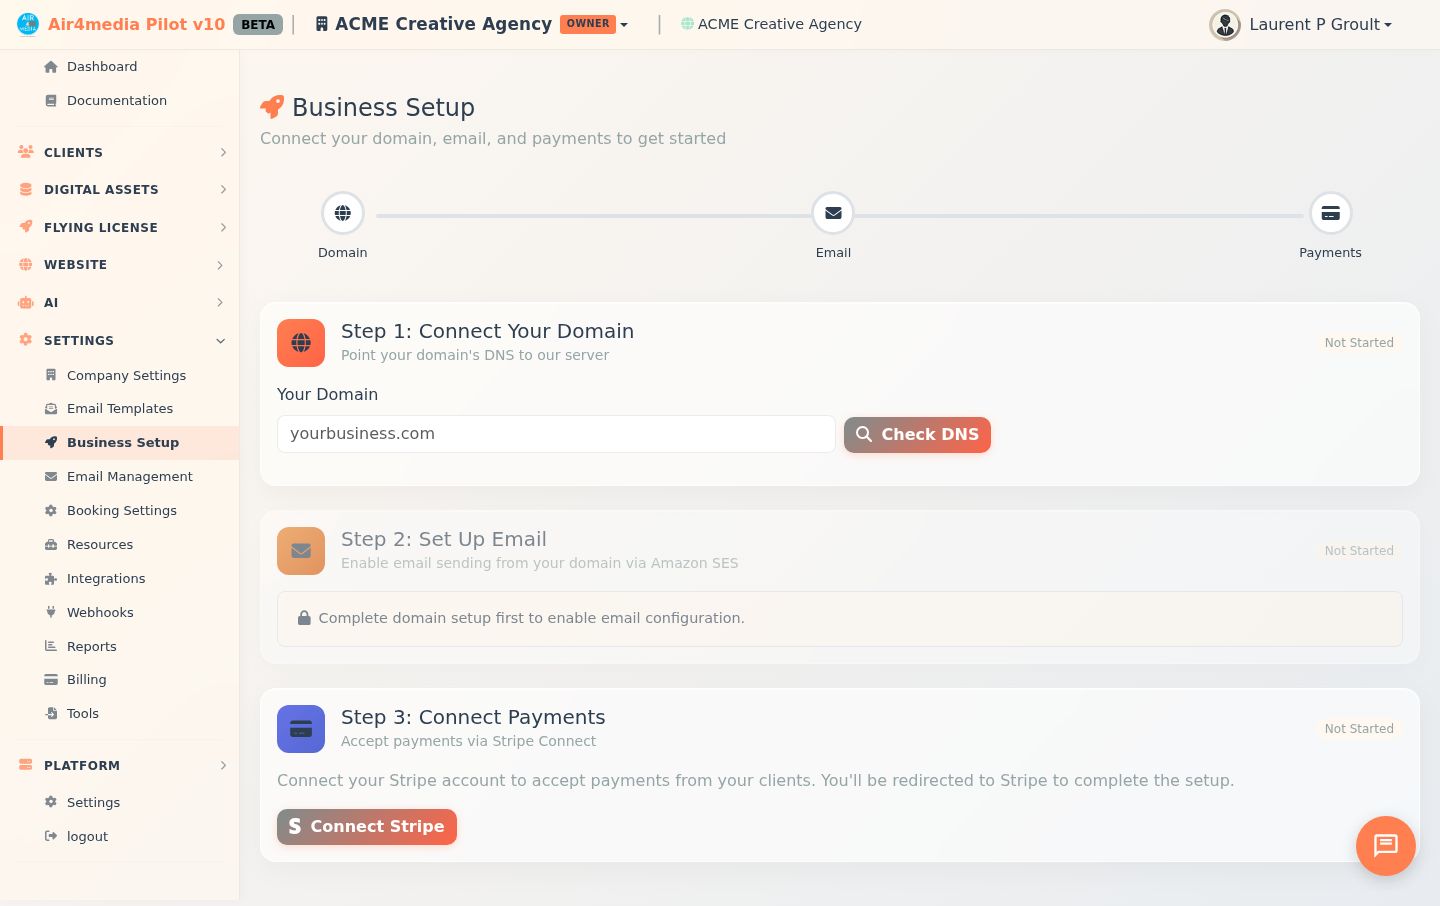
- Progress Tracker: A visual bar with three step indicators (Domain, Email, Payments) fills as you complete each step. An "All Set!" badge appears at the top when everything is done.
- Domain Connection: Link your own domain with DNS verification, Cloudflare routing, and automatic SSL — each handled as a guided sub-step.
- Email Sending: Once your domain is connected, enable outbound email from your domain address. Verification happens automatically in the background.
- Stripe Payments: Connect your Stripe account to accept payments from clients. This step can be started at any time, independently of the others.
- Auto-refresh: When a step is in progress (like DNS propagation or email verification), the page checks for updates every 30 seconds — no manual refreshing needed.
How to Use
Step 1: Connect Your Domain
- Enter your domain (e.g.
acme-creative.com) in the Domain field. If you've connected a domain before, it will be pre-filled. - Click Check DNS to verify your domain is pointing to the server.
- If DNS isn't set up yet, the page shows an A record to add at your domain registrar — the exact IP address is displayed. DNS changes can take up to 48 hours to propagate, and the page checks again automatically.
- Once DNS is verified, click Add to Cloudflare to route your domain through Cloudflare.
- A Provision SSL button then appears — click it to secure your domain with an SSL certificate.
- When complete, a green banner confirms your domain is connected with SSL enabled.
Step 2: Set Up Email
- This step is locked until your domain is fully connected. Once Step 1 is complete, a Set Up Email Sending button appears.
- Click it — the system adds the required DNS records and verifies your domain automatically. No manual DNS work needed here.
- While verification runs, you'll see live status for Domain Verification and DKIM updating on screen.
- When both are verified, a green banner confirms email sending is ready.
Step 3: Connect Payments
- Click Connect Stripe to start onboarding. You'll be redirected to Stripe to set up your account — this can be done at any time, even before finishing the other steps.
- After completing Stripe setup, you're returned to Business Setup where the page confirms your Business Name, Charges, and Payouts are enabled.
- If you didn't finish the Stripe flow, click Continue Stripe Onboarding to return and complete it.
Tips
- You must be a company owner or admin to access Business Setup.
- Email setup stays locked until the domain step is fully complete (SSL included), but payments can be connected at any time.
- If DNS is taking time, leave the page open — it polls every 30 seconds while a step is in progress.
- After returning from Stripe, the page refreshes automatically after a moment. If you see a "needs more info" message, click Continue Stripe Onboarding to finish the process.