Automations
Set up rules that run automatically when something happens in your account — no technical knowledge required. Automations save time by handling repetitive tasks like sending follow-up emails, creating tasks, or tagging contacts the moment a trigger fires.
Key Features
- Visual Step Builder: Add actions one by one to build exactly what happens when an automation runs
- Wide Range of Triggers: Start automations from events across Contacts, Invoices, Quotes, Contracts, Projects, Bookings, Forms, and more — or trigger one manually
- Powerful Actions: Send emails or SMS, create tasks, add/remove tags, change statuses, log activities, call external webhooks, or pause with a timed delay
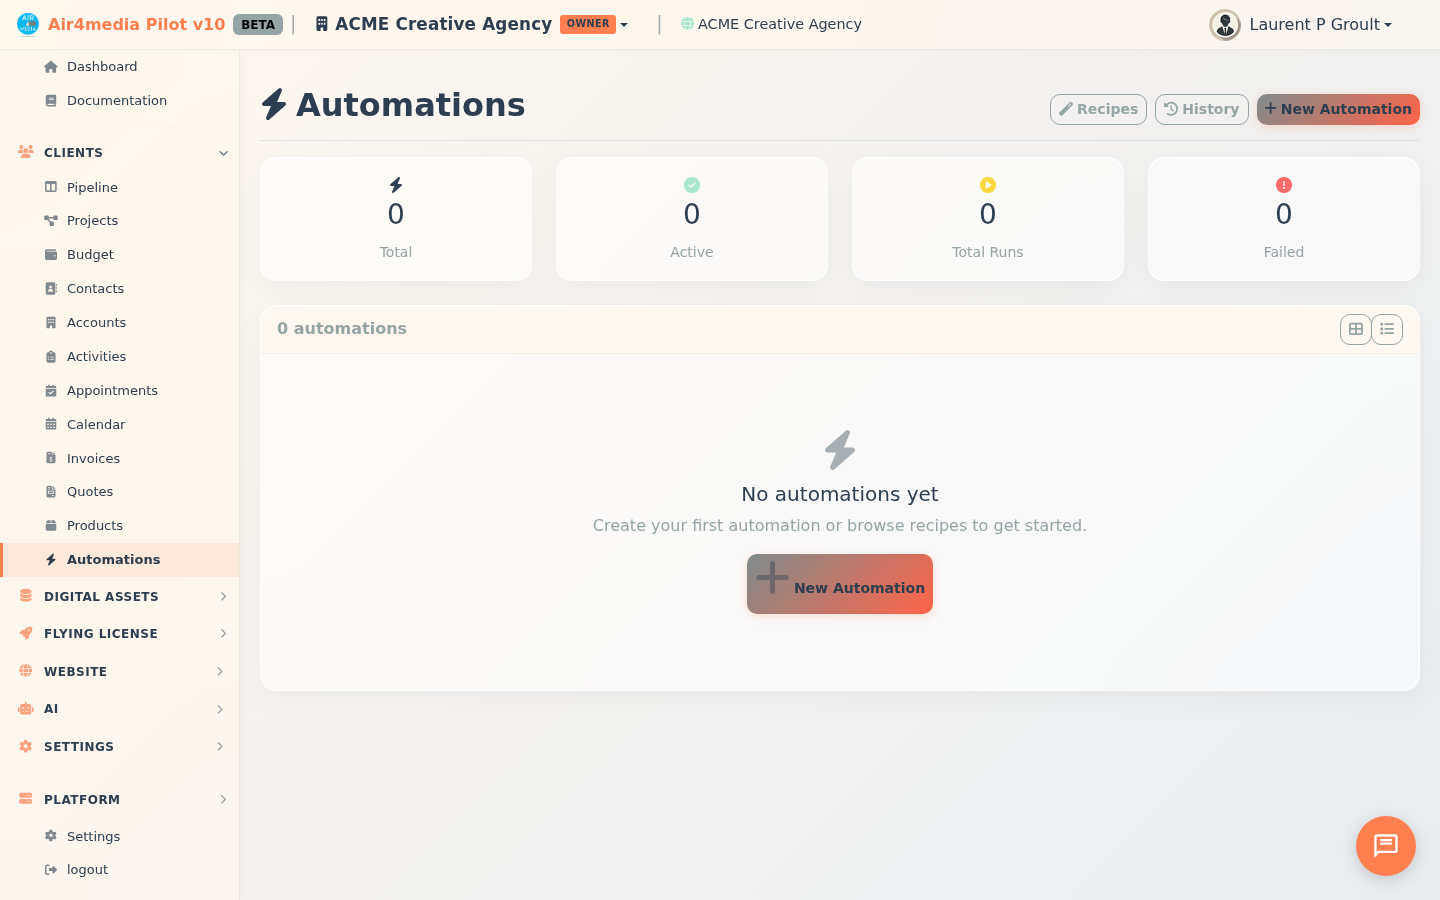
- Dashboard Stats: See at a glance how many automations are active, how many total runs have occurred, and how many failed — click any stat card to filter the list instantly
- Pre-Built Recipes: Activate ready-made automations for common workflows in one click
- Run History: Review every execution with step-by-step logs showing what succeeded or failed
- Toggle On/Off: Pause any automation without deleting it
How to Use
Create an Automation
- Click New Automation
- Enter a name and optional description (e.g., "Invoice Paid — Thank You Email")
- Select a Trigger — the event that starts the automation (e.g., "Invoice Paid", "Contact Status Changed")
- Fill in any trigger conditions that appear (e.g., a specific status value or tag name)
- In the right panel, click Add Step and choose an action type
- Configure each step — pick an email template, enter a task title, set a delay duration, etc.
- Use Available Variables (shown as clickable chips) to personalize content — for example, insert
{{contact_name}}or{{invoice_number}}into email subjects - Check Active to enable the automation, then click Save
Use a Recipe
- Click Browse Recipes
- Preview available templates — for example, "New Lead Nurture", "Invoice Reminder", or "Booking Confirmation"
- Click Use Recipe to load it into the editor
- Adjust any steps to fit your workflow and save
Monitor Runs
- Click View History on any automation to see its past executions
- Each row shows the status (Completed, Partial, or Failed), the date, and how many steps ran
- Expand any row to see exactly which steps succeeded or failed and why
Enable or Disable
- Click the toggle on any automation card or list row to turn it on or off instantly
- A green badge means active; grey means paused
Tips
- Test a new automation before it runs live by clicking Run Now on its card
- Use the Wait / Delay step to space out follow-up emails or tasks over days
- The Failed stat card is a quick way to spot broken automations — click it to filter to only those with errors
- Switch between Card and List view using the toolbar icons — your preference is saved automatically
- Recipes are a fast way to get started — edit them freely after loading